Oh my gosh, I just had to share this with you!
Using just joint compound, some graining tools and stain, this gal turned a flat door in to a wood looking door.
Check out this video!
No matter how much work I do in this house, I always feel like I’m never really done.
That’s not such a bad thing really because I keep improving and improving and I just love it more and more.
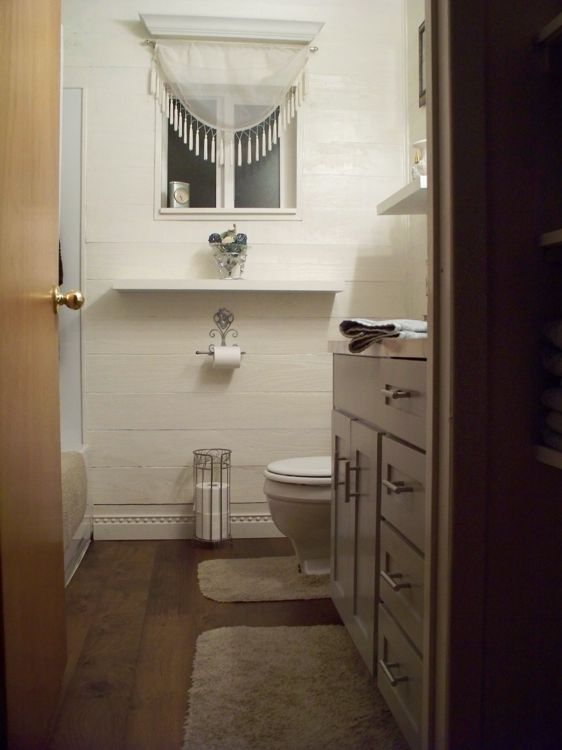
My latest project was to remove the tub in the bathroom and replace it with a walk in shower.
My bathroom is small, so ripping out that old metal tub and replacing it with a 6′ walk in shower made it feel so much larger.
But the awesome thing? No longer climbing in to a bathtub to take a shower and having so much more room to move around.
The shower installed easily! It is made up of the shower pan (which goes in first), then glue up shower surrounds and finally, a very heavy sliding glass door.
It took awhile to install but I absolutely love it!
I had a vision for this kitchen and it’s coming together beautifully. The last thing was adding a beautiful crystal chandelier.
I bought this one, knowing full well it was going to be just spectacular and it is!
The cutest story about this installation is that my handyman is on vacation so I needed someone with skill to put this up for me.
I placed an ad on my local facebook group asking for someone to install it and showing all the parts it was going to take to put it together (no, it didn’t come fully assembled).
Seeing it in pieces, I really didn’t expect anyone to respond, but I posted the ad anyway.
The same day, a gal named Allison said she could come over and put it together and install it. Curious, I clicked her profile and there was nothing there. She’d only been on Facebook since February 9th so I was leary. She said she could come right over. I ignored it.
A few hours later, there was a knock on my door. There stood my sweet neighbor Ryan with a drill in his hand. I cocked my head and said “What’s going on?”. He said “Hi. I’m Allison”!!! I laughed so hard! Seems he likes to peruse Facebook without anyone knowing who he is.
After 3 hours of installation, here it is now in all it’s glory!
With the cabinets plaster stenciled and now looking more craftsman, I moved on to creating a narrow kitchen island.
I thought of using a large dresser, but decided that it would be best to create one myself using a tall, metal table.
I first added a piece of plywood to the top with an overhang of 6 inches on each side then applied marble tiles to the top. I added trim to the edges for a beautiful finished piece.
Cute barstools that picked up the grid pattern of the cabinet stencil were the perfect addition.
Dark brown sheer curtains and stamped metal backsplash finished off my now stylish and beautiful kitchen.
My friends now love hanging out in this large, comfy space.
Up next will be the crystal chandelier I’ve purchased to hang above the island. I can’t wait!
Trees! Yes, trees. I’ve done them in all of the homes I’ve lived in but this was my ultimate and best Aspen Tree Wall.
I added a piece of wallboard to the bottom of the chimney which made that area as thick as the chimney.
Oh how I hated it! Knotty pine walls and ceiling and I just couldn’t deal AT ALL and couldn’t wait to make it “mine”. So I did!
It started with covering the walls with bead board that I painted cream color. I like the texture of the ceiling with the pine so I painted it the same color as the walls.
A small room just can’t be dark in color so that lovely cream color made it feel much larger and brought light in to the room.
I decided I wanted to wake up to something beautiful so I did a medallion on the ceiling with pre-stamped panels, wood strips, corner molding and a medallion above a large, crystal chandelier.
I used the same beautiful floor molding that I did in the rest of the house and crown molding at the ceiling level.
I outfitted the bed with a luscious silk comforter complete with large raised flowers and fluffy white faux fur pillows and throw.
How I love retiring to this room now. It’s just Princess worthy!
Oh that kitchen…..it was a poor excuse for a place for friends and family to hang out or to even cook a meal in my humble opinion.
The old linoleum was worn and tired, the back splash around the stove was peel and stick plastic and though the cabinets are solid wood and in really great shape, they lacked any character at all.
I began with paint first, taking the stark white to a rich cream color and yanked down that horrible light fixture.
Once the plaster stenciling was dry, I used my handy air nailer and applied 2″ x 1/4″ poplar strips to the outside edges of each door and drawer. I primed and painted each door and drawer with the same wall color.
New handles came last to create a more modern look.
My small home is taking on a whole new look!
It began with sanding the 100 year old hard wood floors. They had been covered with carpet tiles that hid all the staples and glue from previous carpeting.
Let me tell you, I spent weeks doing this, thinking that I could re-finish the floors myself. NOT! Once I began to stain, every single sanding mark became like a neon sign.
I gave in and hired a pro and he told me that the reasonable cost came from me doing 90% of the sanding and debris removal.
Now the floors are just gorgeous and I love the history they hold!
The soft shine of the Swedish finish was perfect.
It’s not easy living around moving items from here to there, but it was worth the hassle. Now I’ll not have to worry about these floors again in my life time because I take great care of them.
Next came the fireplace hearth. Simply plain concrete, I needed it to be something more beautiful, so it was faux finish to the rescue! But I also hated that red brick! It for sure, had to go.
the faux finish was to crate the look of slab granite and that came out great as well.
Here’s the finished design with the ugly gas heater replaced by a gas stove instead.
I later went back and finished over the new concrete I had to pour to patch a bad place. In this photo, I was still waiting for the new concrete to cure (30 days) before I could paint it.
Create your own brick wall like this with my new Plaster English Brick stencil.