Description
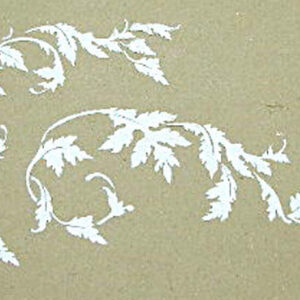
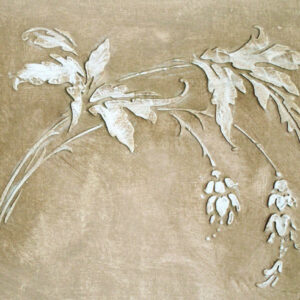
This stencil can be used with common paints or joint compound for raised effects.
Bamboo designs have been so popular and here’s our newest to give your walls a nature theme in an elegant way!
All of the elements needed to create this design are included in this set:
Long repeatable branch 19″ x 1 1/2″
Arched Branch: 11 3/4″ x 1 3/4″
Side Branch: 9 1/2″ x 3/4″
Leaves:
Large 10 3/4″ x 8″
Medium: 7″ x 6 1/4″
Small 5″ x 5″
Our Freestyle Bamboo Stencil Set has all of the bamboo stencil elements such as the repeatable stock and side branches separated on the stencil so that you can create just the right look for your needs.
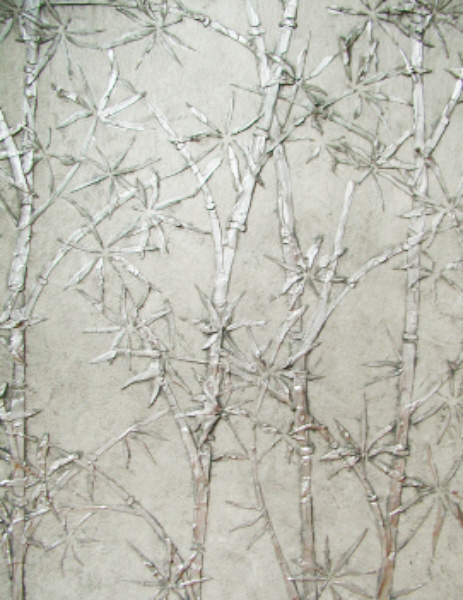
Create just a few stalks on a wall or cover the entire wall in a random fashion as I have done in the above photo.
Love the look above? It was easy!
Start by painting your wall pale gray.
Pre-tint the joint compound to a deeper gray with just a little black or dark gray acrylic paint and plaster the stencil as you choose. By tinting the compound, the bamboo takes on a rich, deep tone and creates a shadowed effect when highlighted in silver metallic paint (later).
To make the design look more realistic, plaster some stalks crossing over the top of others and allow side branches to cross adjacent stalks as well. Use random, rather than even spacing of stalks across the wall. Place some stalks close together and others farther apart to mix things up a little.
Allow the plaster to dry completely.
Mix darker gray paint with translucent wall glaze, brush over the surface and then blot off excess with an old terry towel or sponge. This gives the background a more textured appearance with variation in colors and adds depth to the design. Allow to dry.
Highlight the bamboo stalks by painting them with metallic silver paint. Since the design is raised off the wall, this is easily accomplished with an artists brush. It The look is just gorgeous!
Other ideas would be to use just the branches randomly on the wall or to surround your light fixture with, or coordinate cabinetry by using the branches only in the center of the doors. Talk about “Designer”!


