Skip to content
We Proudly Offer Free Shipping!
Home
About Us
Shop
FAQ
Contact Us
Menu
Home
About Us
Shop
FAQ
Contact Us
$
0.00
0
Account
blog
Tag: stenciling
Home
Tag: stenciling
Deborah Burnham has a way with plaster stencils
October 10, 2021
No Comments
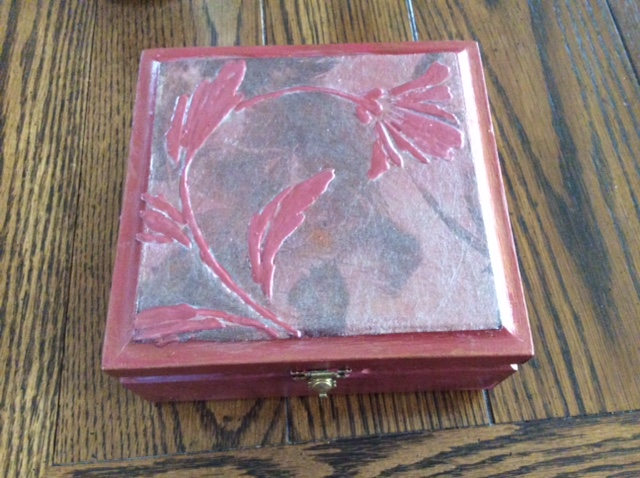
A Cigar Box Idea from Barbara Hill that’s just Stellar!
July 29, 2021
No Comments
The Best Part about Winter
February 12, 2019
No Comments
An Adorable Fall Project from Two Chatty Chicks
September 14, 2018
No Comments
Margaret Tarkington Gives her home a Bavarian Look with Our Stencil
June 28, 2017
No Comments
An Awesome Cabinet Make Over That Takes on Beautiful Elegance
February 16, 2017
No Comments
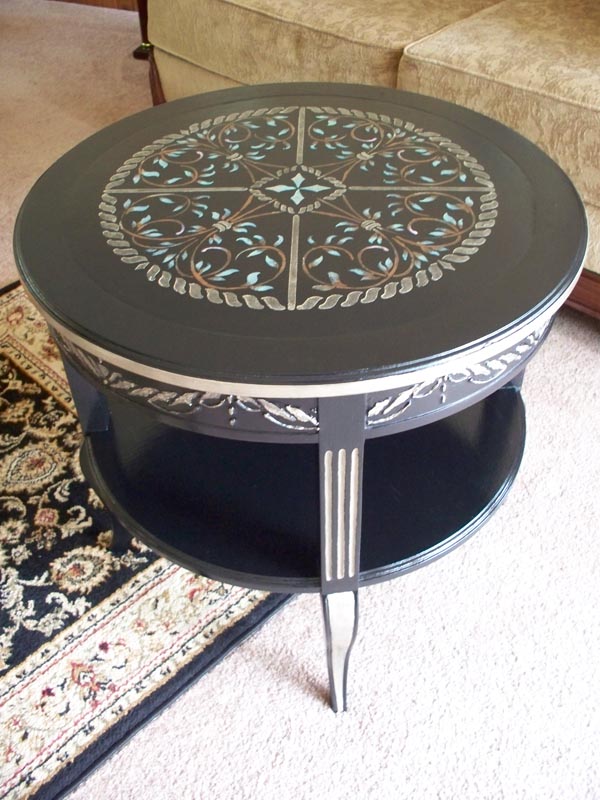
An Easy Table Make Over with Plaster Stencils
January 17, 2017
No Comments
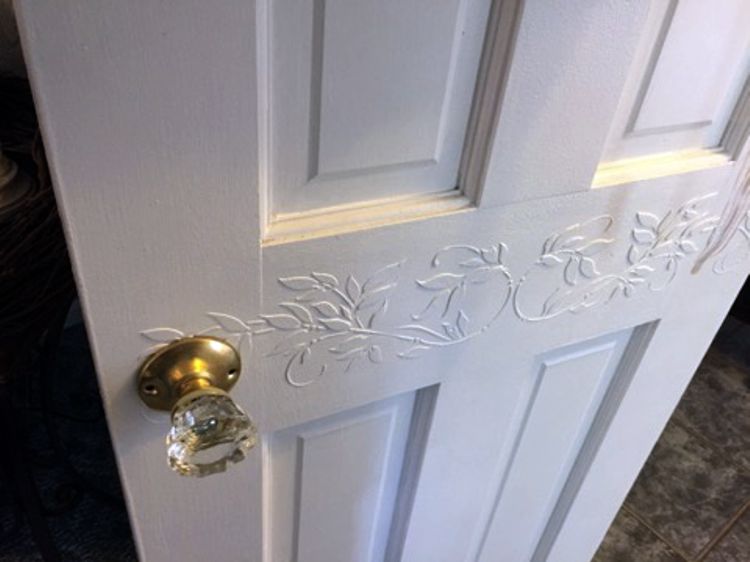
When Decorating, Don’t Forget the Front Door!
November 13, 2016
No Comments
A Privacy Wall Doesn’t have to be Boring!
August 16, 2016
No Comments
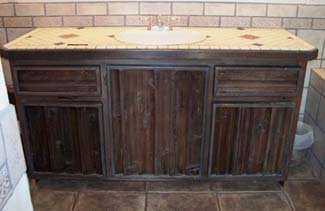
Ugly Barn Wood Cabinets Turned Elegant. Wait till you see!
June 11, 2016
No Comments
Page
1
Page
2
0
0
Your Cart
Your cart is empty
Return to Shop