Skip to content
We Proudly Offer Free Shipping!
Home
About Us
Shop
FAQ
Contact Us
Menu
Home
About Us
Shop
FAQ
Contact Us
$
0.00
0
Account
blog
Tag: plaster stencil ideas
Home
Tag: plaster stencil ideas
Ann Creates the Look of Antique Cabinet doors
September 28, 2021
No Comments
A Single Stencil Has Such an Elegant Impact
February 19, 2019
No Comments
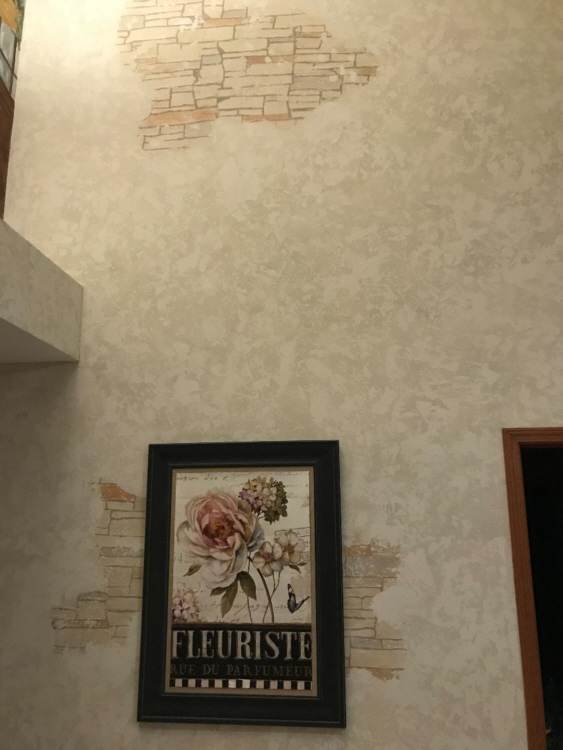
Create an Easy Exposed Brick Wall
February 19, 2019
No Comments
Darla Dawald loves Lizard Texture
October 3, 2018
No Comments
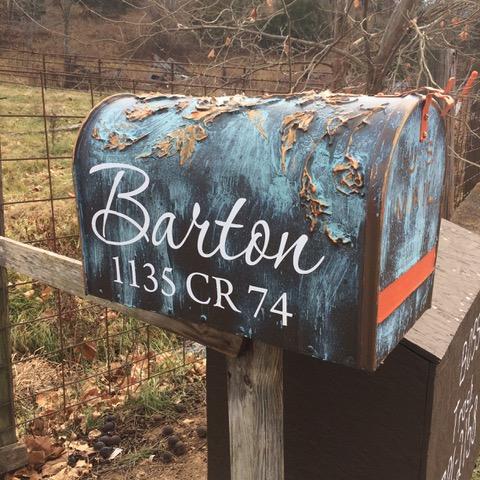
Plaster Stencils Aren’t just for Walls…Jonie McDonald shows you!
December 12, 2017
No Comments
Barbara Walker’s Beautiful Stenciled Table
January 19, 2017
No Comments
Awesome Furniture Make overs with Plaster Stencils
June 2, 2016
No Comments
A Stenciled Stone Wall that’s So Cute!
March 13, 2016
No Comments
Plaster Stencils for Beautiful Cabinets
March 13, 2016
No Comments
Plaster Stenciled Ceiling To Die For!
March 2, 2016
No Comments
0
0
Your Cart
Your cart is empty
Return to Shop