Skip to content
We Proudly Offer Free Shipping!
Home
About Us
Shop
FAQ
Contact Us
Menu
Home
About Us
Shop
FAQ
Contact Us
$
0.00
0
Account
blog
Category: Plaster Stenciling
Home
Category: Plaster Stenciling
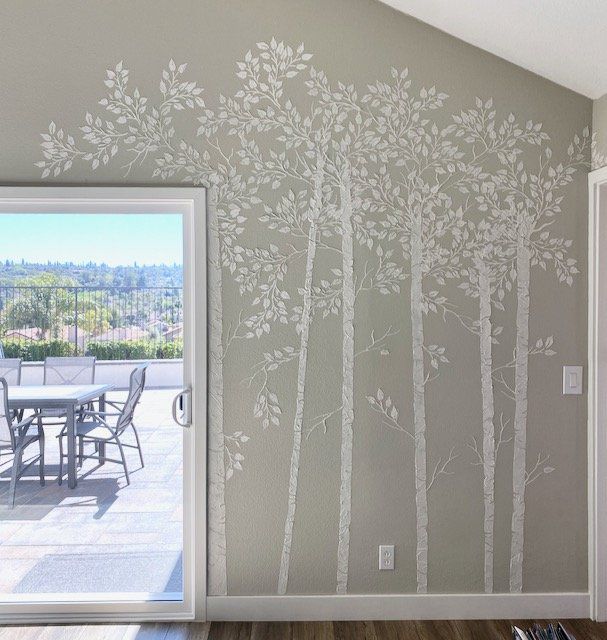
Plaster Stenciled Trees Give this Room real Class!
March 18, 2025
No Comments
Angela Perrone Wows with this Chest Makeover
December 28, 2023
No Comments
Holly Kellen Gives a Plain Chest a Total Makeover
February 1, 2023
No Comments
Plaster Aspen Trees with Caulk? The Domestic Diva does it again!
January 19, 2023
No Comments
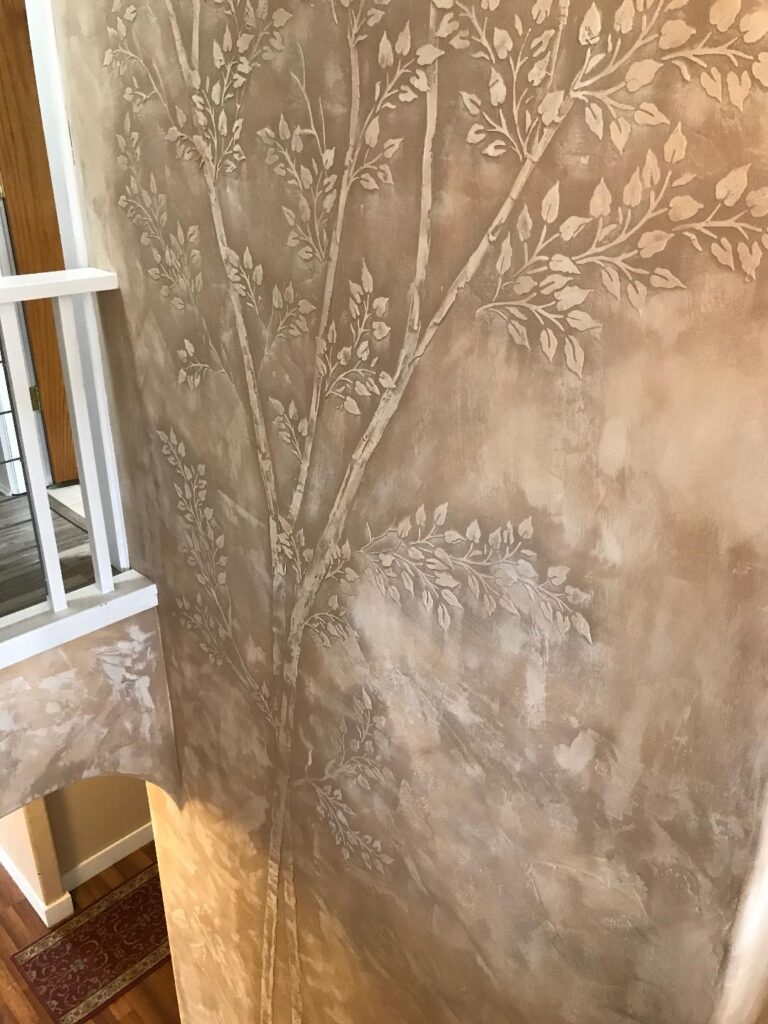
Julie McDowell’s Creative Art
December 12, 2022
No Comments
Harriet Brown’s Tree Branch Border
December 12, 2022
No Comments
Charlotte Creates an Adorable Sapling for her Daughters Room
December 12, 2022
No Comments
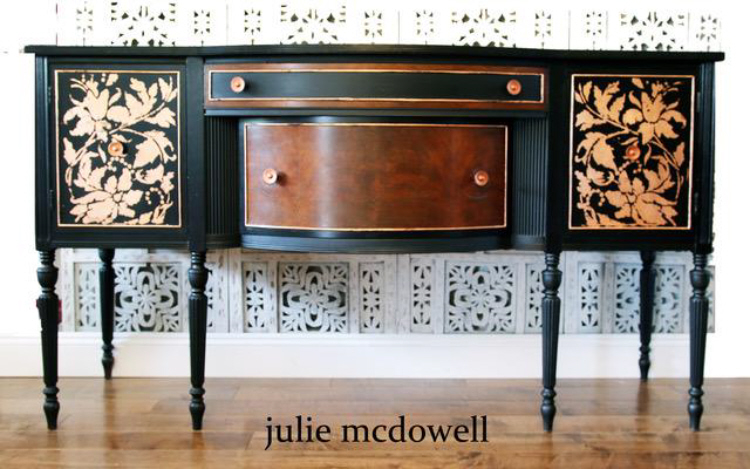
Julie McDowell uses our stencil to give a chest a brand new look
April 10, 2022
2 Comments
Marianne Meyer’s Take On Our Plaster Aspen Trees
March 6, 2022
No Comments
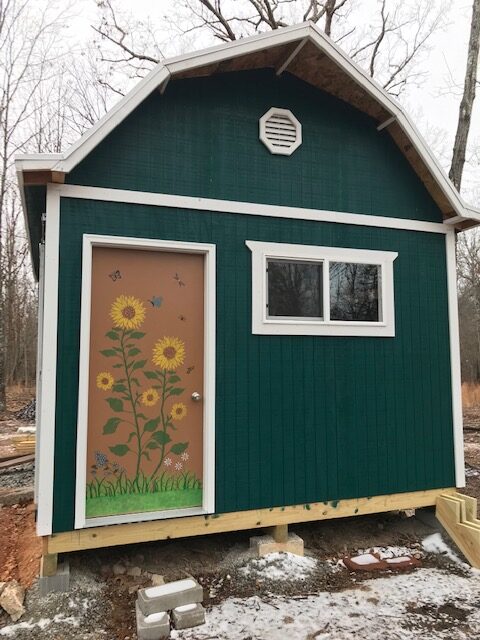
Pam Eastridge Creates A Cheery She Shed
January 11, 2022
No Comments
Page
1
Page
2
Page
3
Page
4
Page
5
0
0
Your Cart
Your cart is empty
Return to Shop