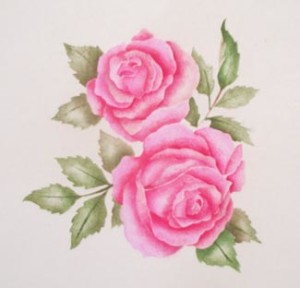
Stenciling is much like coloring in a color book, except that you color with a stencil brush or roller and paint.
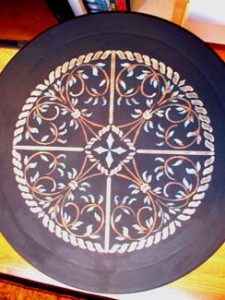
Stenciling can be used to add a design to walls, ceilings, floors, craft items, fabric, even rugs! There’s no limit to what you can use them on.
You can literally stencil with any type of paint you choose. We love stenciling with ordinary bottled acrylic craft paints or stencil cream paints. These can be found in all craft stores and even the craft department of Walmart.
You will need:
Stencil of your choice
Masking or painters tape (I’m not a fan of stencil adhesives unless I’m doing a ceiling. It’s too difficult to clean off the stencils).
Acrylic paint, wall paint or stencil cream paint in your choice of colors.
Stencil brushes
or
Stencil roller or small paint roller.
Newspaper or paper towels.
Wet wipes (to clean stencil).
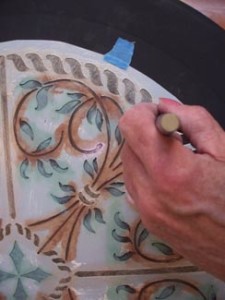
To stencil with a brush:
Simply tape the stencil to the intended area.
Get a SMALL amount of paint on the stencil brush then wipe off excess on to paper towels or newspaper. Trust me, there’s plenty of paint up inside those bristles to deposit on to the surface. (Excess paint could leak up under the stencil and cause a blurred design).
The old method of stenciling is where you would pounce the brush up and down over the stencil openings to paint the design. But that’s tiring and the look is uneven. Instead, with a light pressure, simply “swirl” the brush in circles beginning at the outside edge of the stencil opening toward the inside edge. Leaving the center unpainted gives a highlight look in the center of the opening and using heavier pressure where shading is desired, will create a darker area. Occasionally, lift the edge of the stencil to see if you need lighter or heavier pressure and make sure all stencil openings are getting covered.
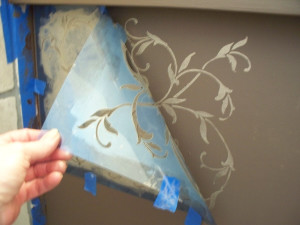
Un-tape the stencil and peel back to reveal the design.
COVERING A WHOLE WALL? MAKE IT EASY WITH A ROLLER!
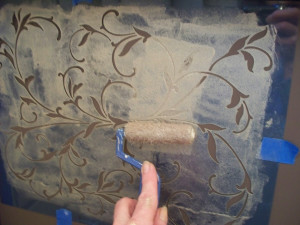
When you want a stencil design all one color, do it the easy way with a smaller stencil or paint roller.
Roll the roller in to the paint then roll off all excess on to newspaper or paper towels. This is an important step since like with stencil brushes, too much paint can result in a blurred design.
Lay the roller on top of the stencil and with a medium pressure, roll the roller over the stencil openings.
Un-tape the stencil and peel it back gently to reveal the design.
Overlay stencils
Overlay stencils are just like any other stencil except that there is more than one stencil sheet required to complete the design. These stencils are numbered as to their order of use and an easy registration system within the stencil set allow you to line up each overlay perfectly every time. These are typically stenciled with a brush to achieve the fine detail and shading, just as you would with any stencil.
Overlay stencils allow you to create the look of hand painted art without being an artist.

