Dramatic Walls with our Raised Plaster Aspen Tree Stencil
I often use my own walls to showcase my stencil designs. Besides, I like to change things up on a regular basis and that’s FUN!
I had just had a great wood stove put in along the long wall in my living room. That wall just screamed for something…..anything! But what would go best with a wood stove? Aspen trees! And what did I use? Our Raised Plaster Aspen Tree Stencil.
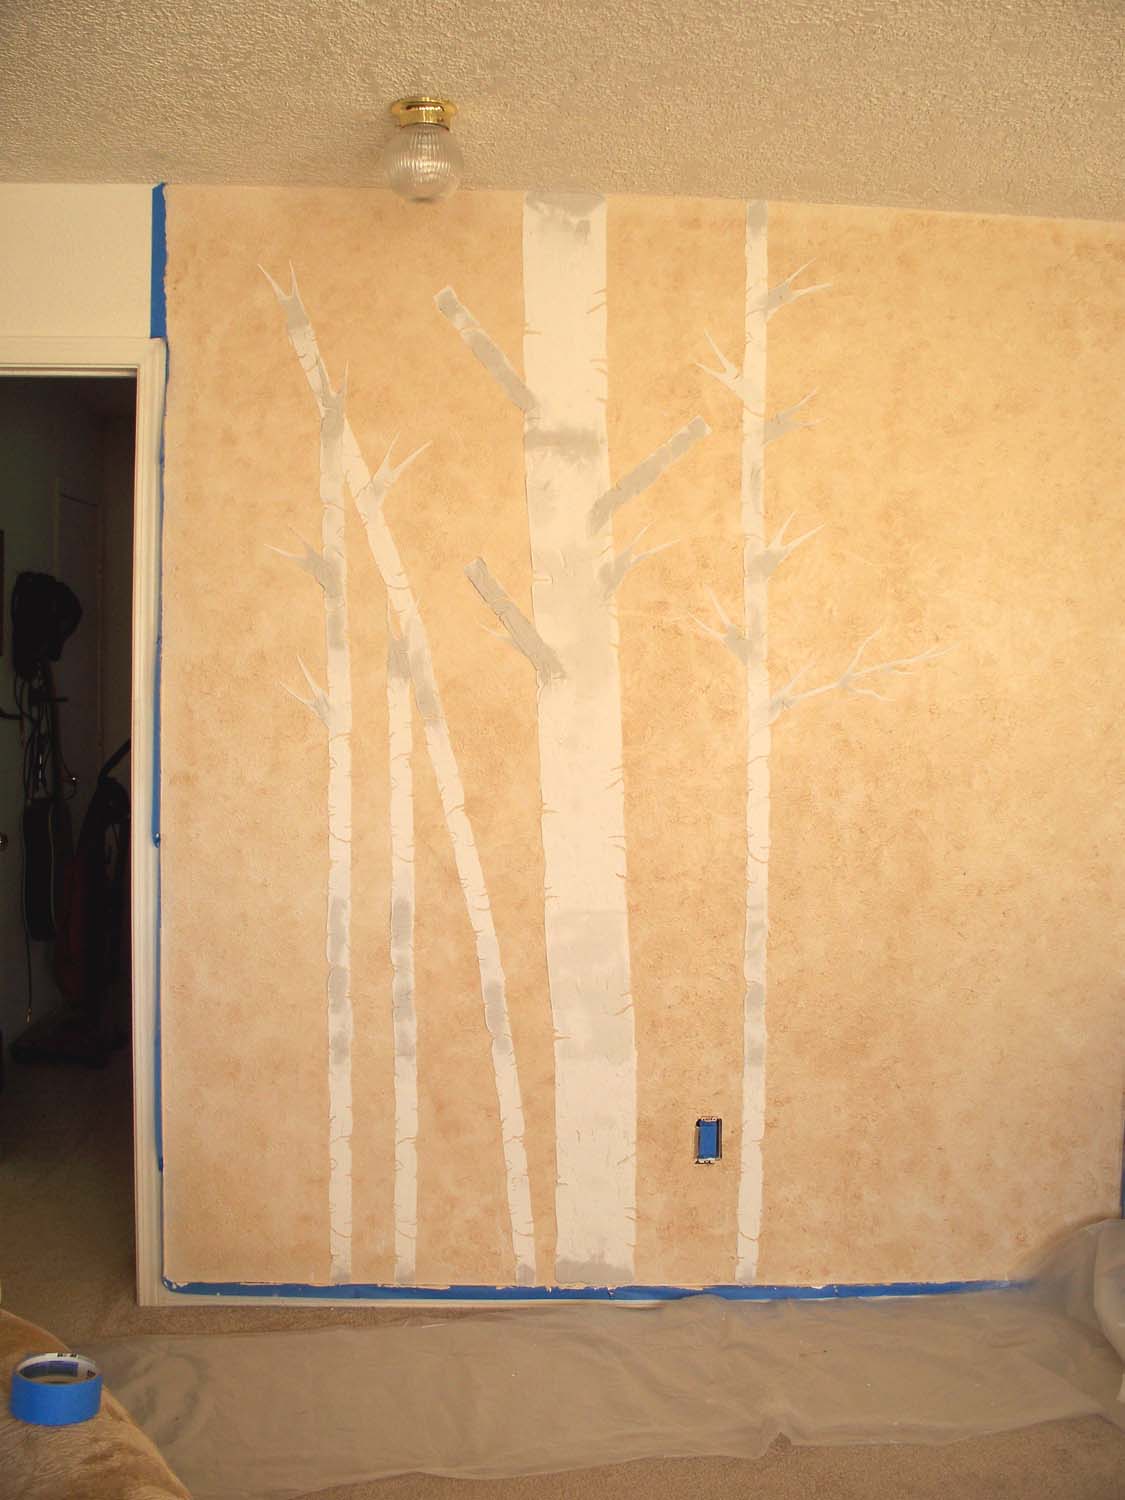
I began by using both the large and small trunk stencils. Now, we all know you can’t repeat a stencil while the plaster is still wet, so you either wait (impatiently tapping your toes), or you do the “skip” method. Do the first repeat, skip the second, do the third and so on. Once they are all dry, simply fill in the repeats all at the same time!
On dry portions of the trunk, you can also start adding side branches.
I love taking some of the trunks right up to the ceiling so that they appear to “disappear” right behind the ceiling level.
As you begin to add leafy branches (attached to the side branches), the trees really start to take shape.
Adding paint colors right to the joint compound makes coloring your leaves super easy! No hand painting required!
I loved this wall right up until I bought new furniture. Now the wall color was too orange. But that was easy to change. Wall paint, a paint brush and a few hours later and the background was gray! Tah Dah!