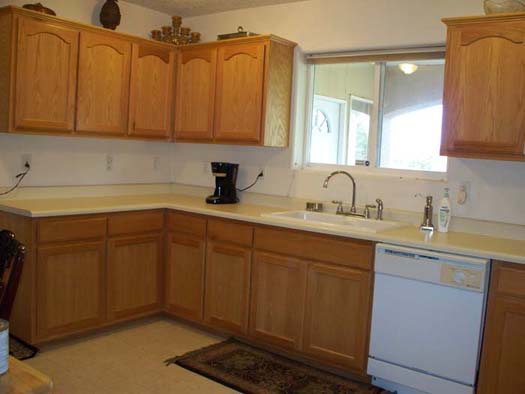
When I moved in to my home in New Mexico in 2013, it became a new adventure in turning this plain home in to “My” home.
The kitchen was the first that just had to be improved. And you know me, it’s done with paint, stain and plaster!
It was the typical “boring” kitchen with construction grade cabinets, laminate counters and white linoleum floor (which I hated!).
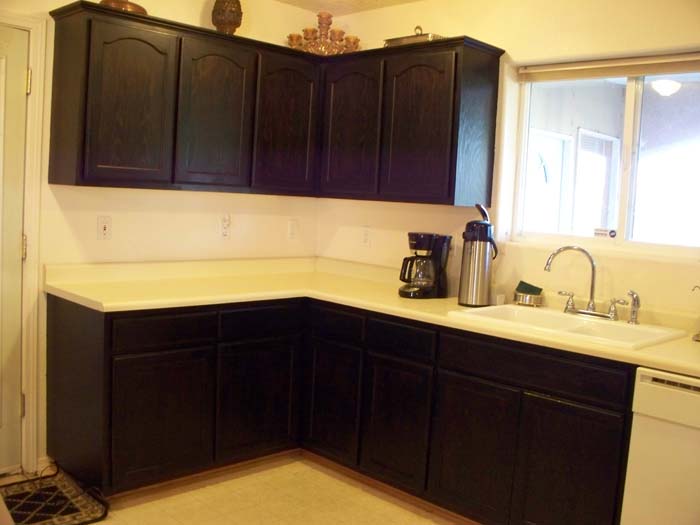
I first decided to stain the cabinets, which I did with Minwax Polyshades. What cool stuff! All I was required to do was to scuff the old finish on the cabinets before applying the Polyshades.
I’ve always really loved dark wood furniture and cabinets (they just look so rich!), so I chose the “Espresso” color in Polyshades. I hated the first coat! It just didn’t seem to cover well and I thought to myself: “Why didn’t I do a test board?”. I always do a test board! (OK, almost always). But the second coat came out spectacular and I was on a roll!
Next came the counter tops. Until the day I can install real granite, it’s faux finish to the rescue! They look positively REAL and here’s how I did it:
First, clean, sand and prime the counter tops (protect the wall, sink and faucet with tape).
I randomly sponge black paint on to the counter top.
Sponge on a rust brown paint color then blot gently with a chip brush to blend and help make sure you get paint in to corners.
I added faux rust lines, (blending slightly) and larger, deep gray spots that were also blended. These little tricks make your faux granite look like real granite!
4 coats of polycrylic in gloss sheen gave it that pretty granite “shine” and protects the new finish.
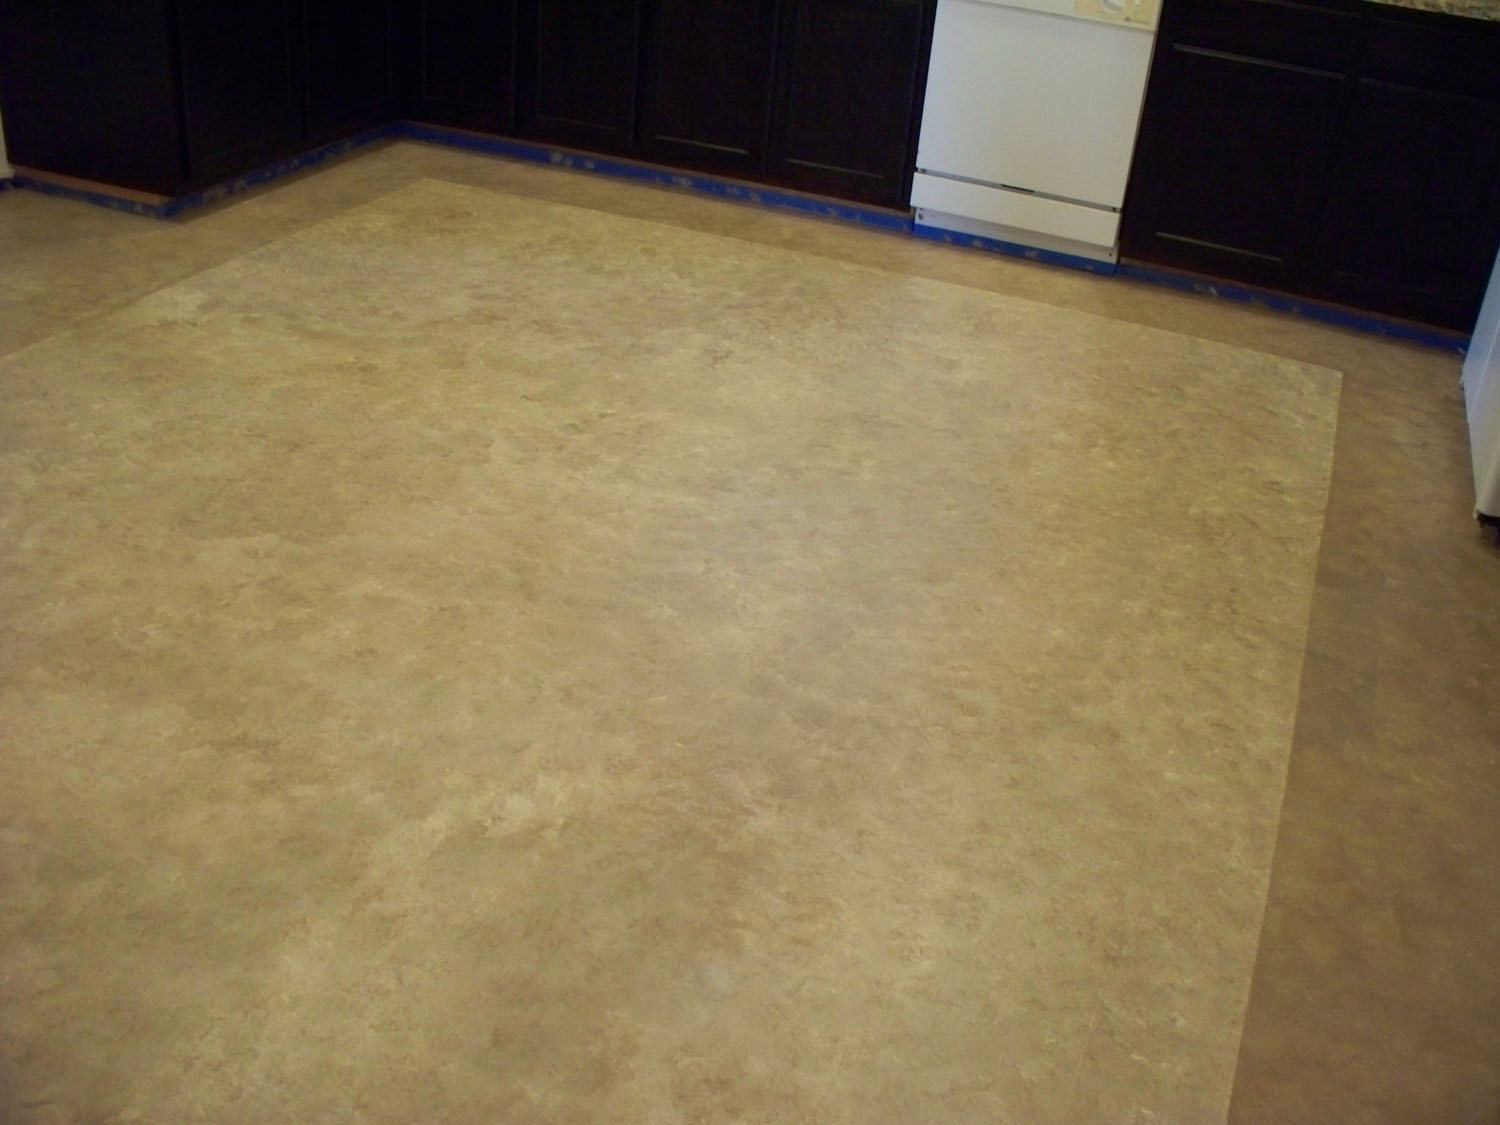
Now, the last thing I had to do was to change those floors! Mind you, at some point, I’m putting in hard woods, but again, until that happens, it’s paint to the rescue!
I’ve always hated white linoleum! It’s not only totally boring, it also shows every spec of dirt, every droplet from your coffee cup and I was mopping constantly!
Start with a squeakee clean floor then prime it with premium primer. I taped off a large rectangle in the center and using Behrs Porch and Floor Paint, I first rolled it with a cream color, then sponged on a darker brown. Blend, blend, Blend!
I pulled up the tape and then re-added to the inside of the rectangle to protect it. I now reversed the colors on the outer border. I painted it the darker brown then sponge painted the cream color over it. Again, blend really well.
I used the same Raised Plaster Palisades border stencil with just paint to create a pretty little border on the inside of the lighter rectangle. This really brought a unique look to the floor.
With the kitchen project done, I can let out a sigh, knowing “I can live with this!”. It’s beautiful and though it’s not “high end” finishes, it sure looks like it!


 I added faux rust lines, (blending slightly) and larger, deep gray spots that were also blended. These little tricks make your faux granite look like real granite!